How to do a headshot in 16,384 simple steps…
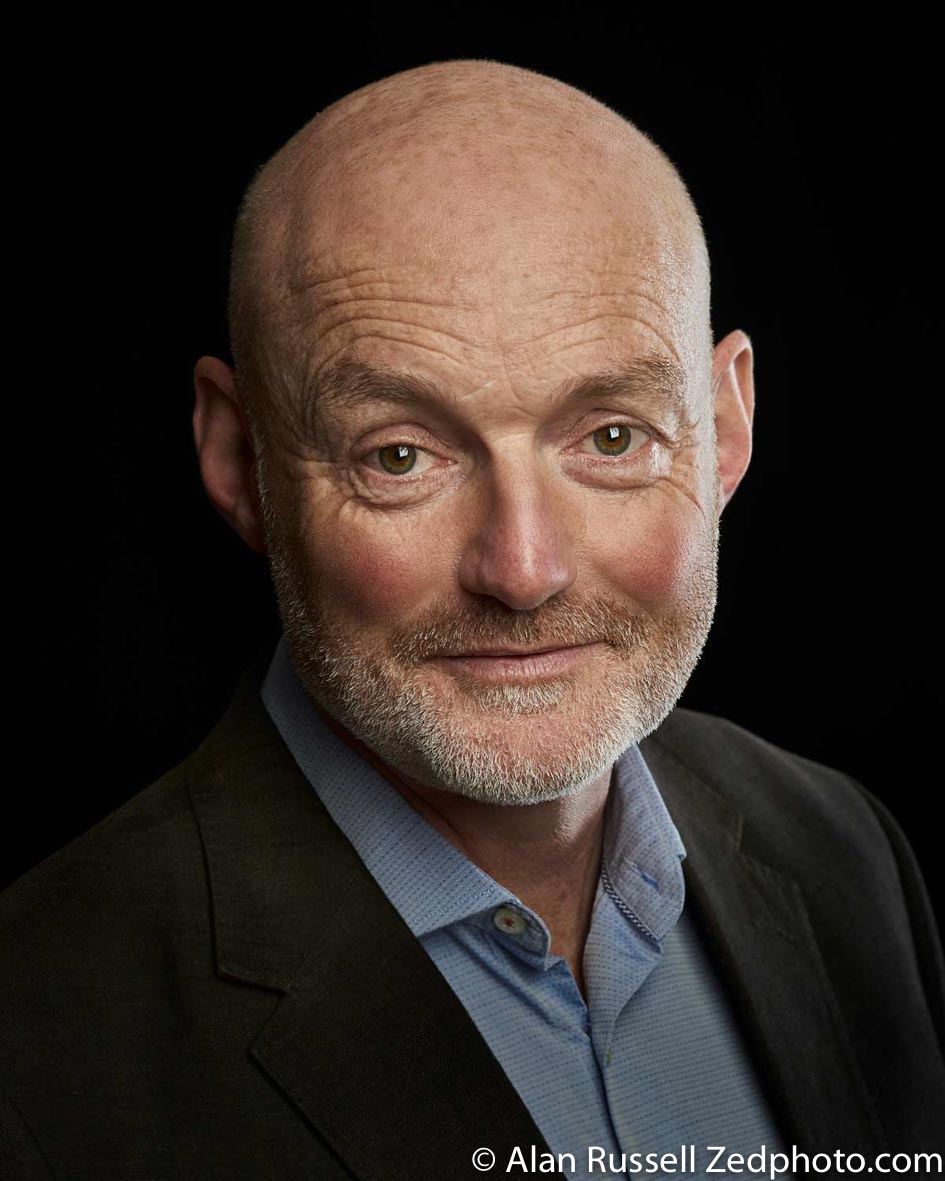
I just had the pleasure of producing this image for a client to use on his social media. His previous shot (done on his phone) just wasn’t doing the job. This is a “typical” lighting set up for producing a strong image – the steps are easy:
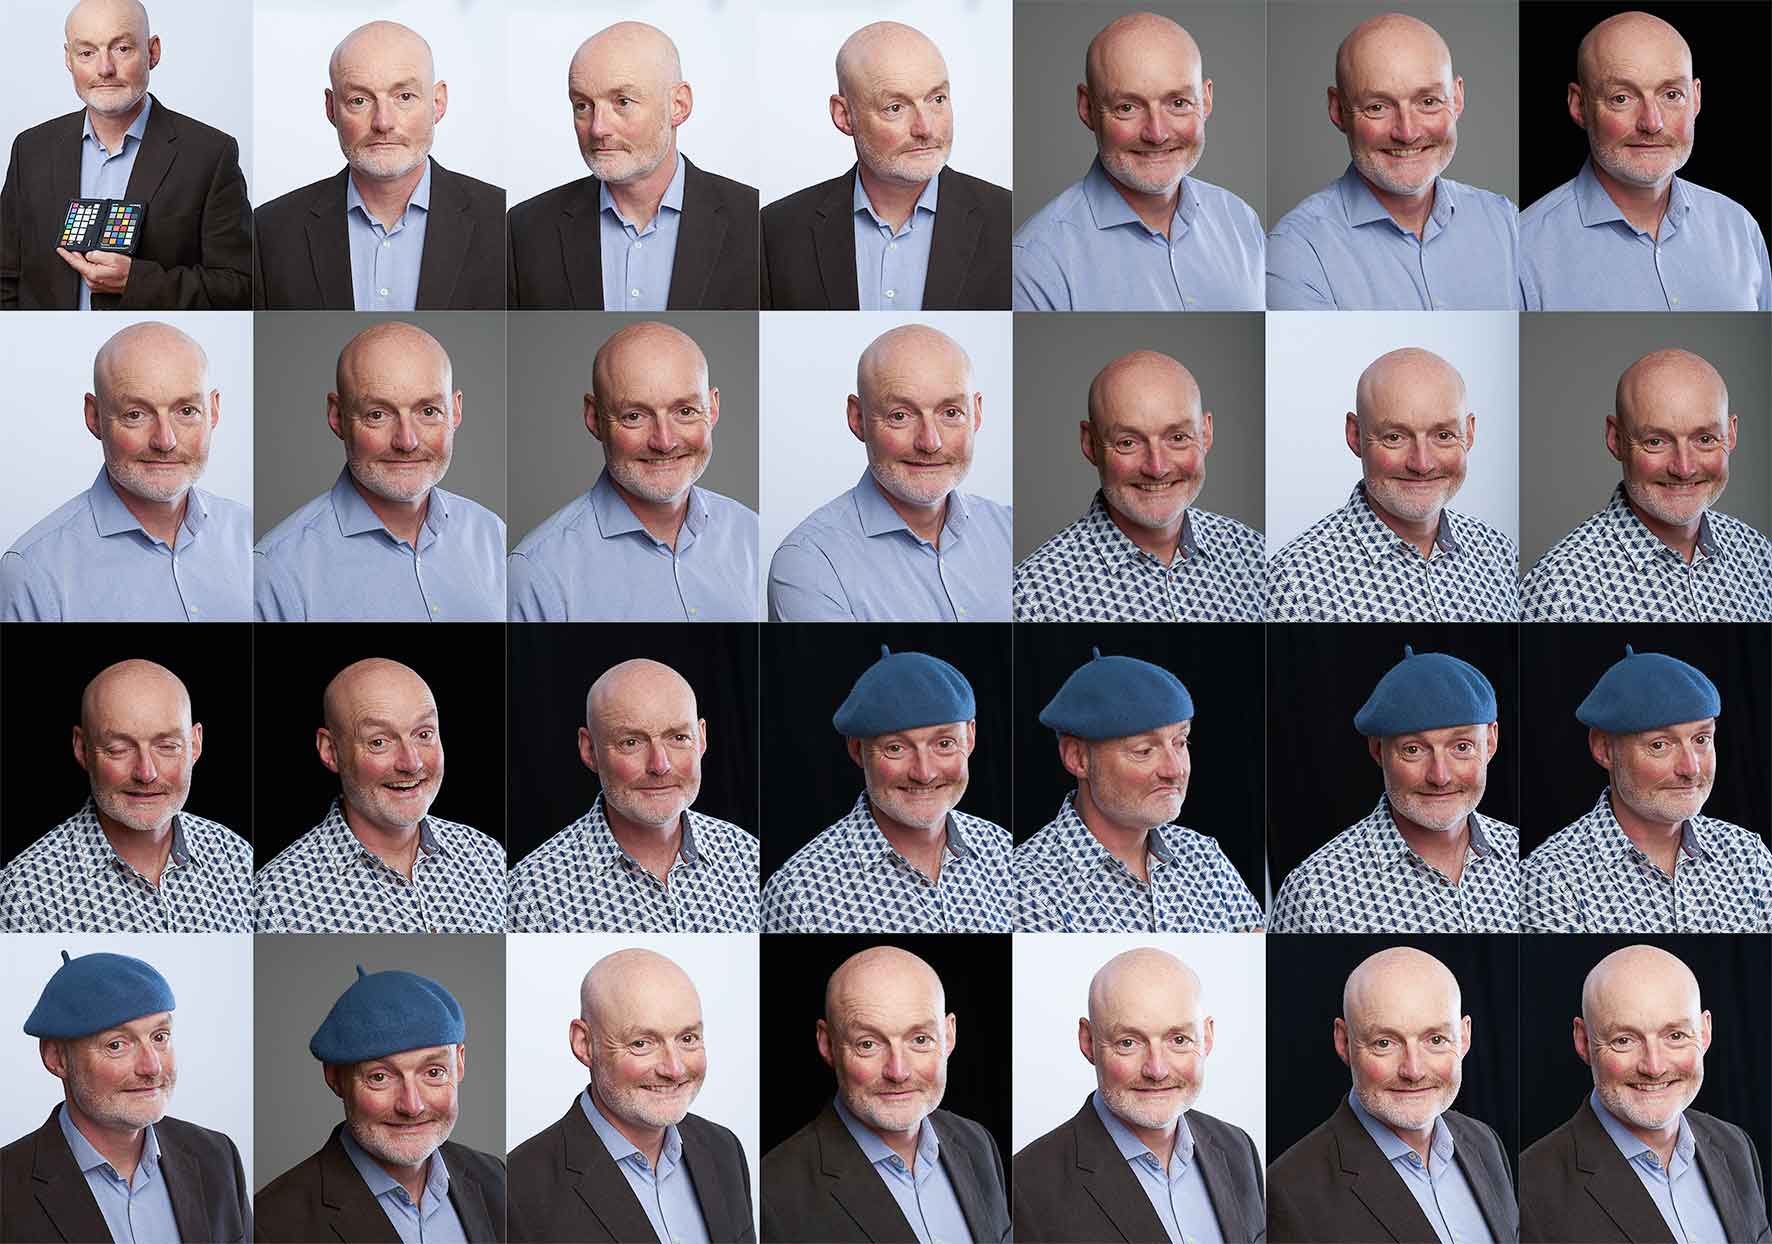
1.Photograph subject looking straight on then to left then to right with soft light directly in front to work out which side of their face looks best (yes there’s a side – 60% of people are thought by one headshot expert to look best on their left side).
2.Put main (soft) light on whichever side looks best and adjust angle, distance and “feathering” (where about you let the boundary between light and no light fall over the face). Decide on type of fill light on the other side which can be another soft light, a reflector in silver or white or cream or black depending on how much shadow and modelling looks best and what sort of shot your client wants. Not everyone wants a super dramatic dark shadow shot for their CV or social media and at the other extreme I’ve had actor clients who want just that. Optionally add a “hair light” behind and off to one side to model cheekbones and visually separate hair from background
3.Decide on background – white, grey black or some special backdrop? I generally work with just the first three these days as 21stcentury tastes have veered away from those fake painted backdrops towards simplicity and honesty. On the other hand, if you’re producing a shot designed to be really eye catching a single strong colour works well (“The Observer Colour Magazine” look as I call it!)
4.Set your light strengths and the sensitivity of your cameras sensor to allow a shallow depth of field – (best to be using a medium telephoto lens to avoid that “Cell Phone Selfie”, big nose look).
5.Pose your model ask them to do one of the 16,384 different facial expressions humans can produce (honest its true!).
6.Focus on the eye nearest the camera and CLICK! I recently changed my entire professional camera system over to a model that can autofocus on selected eyes just for this reason.
7.Repeat , repeat, repeat (depends on the subject but this step can be in the hundreds…)
The real meat of this little job is in step 5 – the technical stuff before step 5?, sure it’s essential to nail that, but that’s easy. Posing your model is such a psychological balancing act that it can take a long time to master – that’s why even the expert take loads of small variations. They say an “Art” is just a science with more than four or five related variables and this part is most definitely an art.
There we are, simples, as no meerkats ever did say.
Then its time to tweak on the dreaded photoshop. The skill here is in producing an HONEST but best version of the subject – and that is a whole different and longer story.